Designing a printed circuit board (PCB) is a crucial step in developing electronic devices. Whether you’re an entrepreneur with a groundbreaking idea or an engineer refining an existing product, understanding the PCB design process is essential. This guide will walk you through the entire journey, from initial concept to a functional prototype, ensuring you have the knowledge to navigate each phase effectively.
The Basics of PCB Design
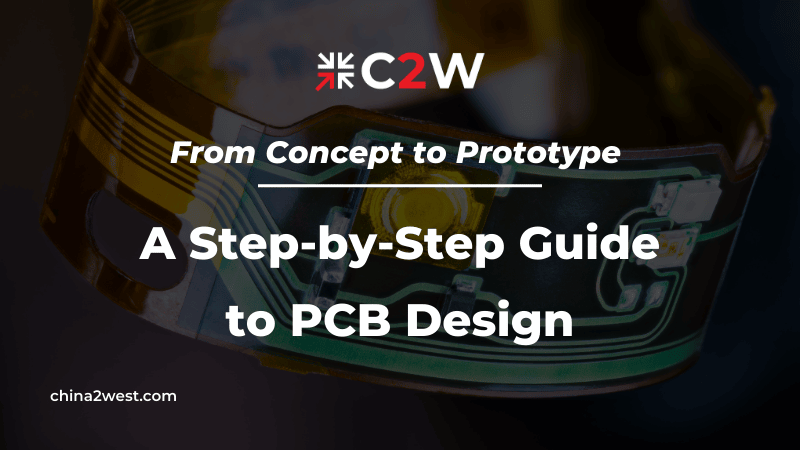
A PCB, or printed circuit board, is composed of multiple layers of conductive material, typically copper, separated by insulating layers. These conductive layers create pathways, known as traces, which interconnect various electronic components such as resistors, capacitors, and integrated circuits (ICs). Each trace must be carefully designed to ensure proper signal flow and minimize interference.
The physical layout of a PCB plays a crucial role in its performance. Components are strategically placed to optimize space, signal integrity, and thermal management. The layers are organized to separate high-frequency signals from low-frequency ones, reduce electromagnetic interference (EMI), and ensure efficient power distribution.
Initial Design Considerations and Requirements
The first step in PCB design is defining the project’s requirements. Begin by considering the electrical specifications, including voltage, current, and signal types. Identify the size constraints and the number of layers needed for your PCB. Factor in thermal management to ensure components don’t overheat and affect performance. Determine component placement for optimal functionality and ease of assembly. Additionally, consider any industry-specific standards or certifications that apply to your project.
Choosing the Right PCB Design Software
Selecting the right PCB design software is crucial to your project’s success. Popular options include Altium Designer, Eagle, KiCad, and OrCAD, each offering unique features tailored to different needs and expertise levels. For example, Altium Designer is renowned for its robust suite of features that cater to both simple and complex circuit designs. Its intuitive interface and real-time design functionality make it a favorite among professionals who require efficiency and precision. The choice between these tools should be guided by specific project requirements, budget constraints, and personal or team familiarity with the software. By selecting the right PCB design software, you can ensure a smoother design process and a higher-quality final product.
Schematic Design and Component Selection
With your software chosen, the next step is creating a schematic design. This involves drawing a circuit diagram that accurately represents the electrical connections between components. Carefully select components that meet your project’s specifications, considering factors such as power ratings, package types, and availability. Utilize the software’s library to streamline this process, ensuring you have accurate and up-to-date component models. Pay close attention to the pin configurations and compatibility of each component to avoid issues during layout and routing. It’s also beneficial to cross-reference datasheets to verify electrical characteristics and ensure reliability. As you build your schematic, organize it logically to make future revisions and troubleshooting easier.
PCB Layout and Routing Techniques
After completing the schematic, the next phase is arranging your components on the PCB and routing the electrical connections. Start by placing critical components, like microcontrollers and power connectors, in optimal positions to minimize noise and interference. Pay attention to the placement of decoupling capacitors near power pins to ensure stable power delivery. When routing traces, consider trace width and spacing requirements to handle the necessary current and voltage levels. Use wide traces for power lines and ground planes to reduce resistance and improve current handling. Arrange signal traces to be as short and direct as possible to minimize signal loss and crosstalk.
Running Design Rule Checks and Simulations
Design rule checks (DRC) and simulations are critical steps in the PCB design process to ensure reliability and functionality. DRCs help identify issues like trace spacing violations, incorrect pad sizes, or other design constraints that could affect manufacturability and performance. Most PCB design software includes built-in DRC tools, allowing you to automatically scan your design for errors and inconsistencies.
Simulations complement DRCs by validating your circuit’s behavior under various conditions. For instance, signal integrity simulations can identify potential issues like signal distortion or reflection, which can degrade performance. Power integrity simulations ensure that power delivery networks are stable and can handle the expected load without causing voltage drops or noise.
Creating and Reviewing Gerber Files for Fabrication
To transition from design to production, you need to generate Gerber files. These files are in the industry-standard format that conveys all the necessary information for PCB fabrication, including details for each layer of your board, such as copper traces, solder masks, and silkscreens. To generate Gerber files, use your PCB design software’s export feature, ensuring you select the correct settings and layer configurations.
Once generated, meticulously review each Gerber file to ensure they accurately represent your design. Common tools like Gerbv or your PCB design software’s built-in viewer can help you visualize these files. Pay close attention to critical areas such as trace widths, pad sizes, and layer alignments. Check for any discrepancies between your design and the generated files, such as missing or extra features.
Before sending your files to the manufacturer, review their specific requirements and guidelines to ensure compatibility. Some manufacturers offer a free design rule check service, which can catch potential issues before production begins.
Prototyping and Testing Your PCB Design
Once you have reviewed your Gerber files and sent them to the manufacturer, it’s time to move on to prototyping. After receiving the fabricated boards, carefully assemble them with your selected components.
Begin by visually inspecting the assembled prototype to ensure all components are correctly placed and soldered. Next, power up the board and conduct a series of tests to check for proper functionality. Focus on key areas such as signal integrity, power distribution, and thermal performance. Utilize testing equipment like oscilloscopes, multimeters, and thermal cameras to gather accurate data. Document any issues or anomalies and analyze their causes. Make iterative adjustments to the design if necessary and re-test until the board meets all performance criteria. Once you are satisfied with the prototype’s performance, you can proceed to prepare for mass production. If you have questions about the PCB design process or need assistance with your project, feel free to contact us. Our team of experts is here to help you bring your concepts to life!